
Where it lives in HTM
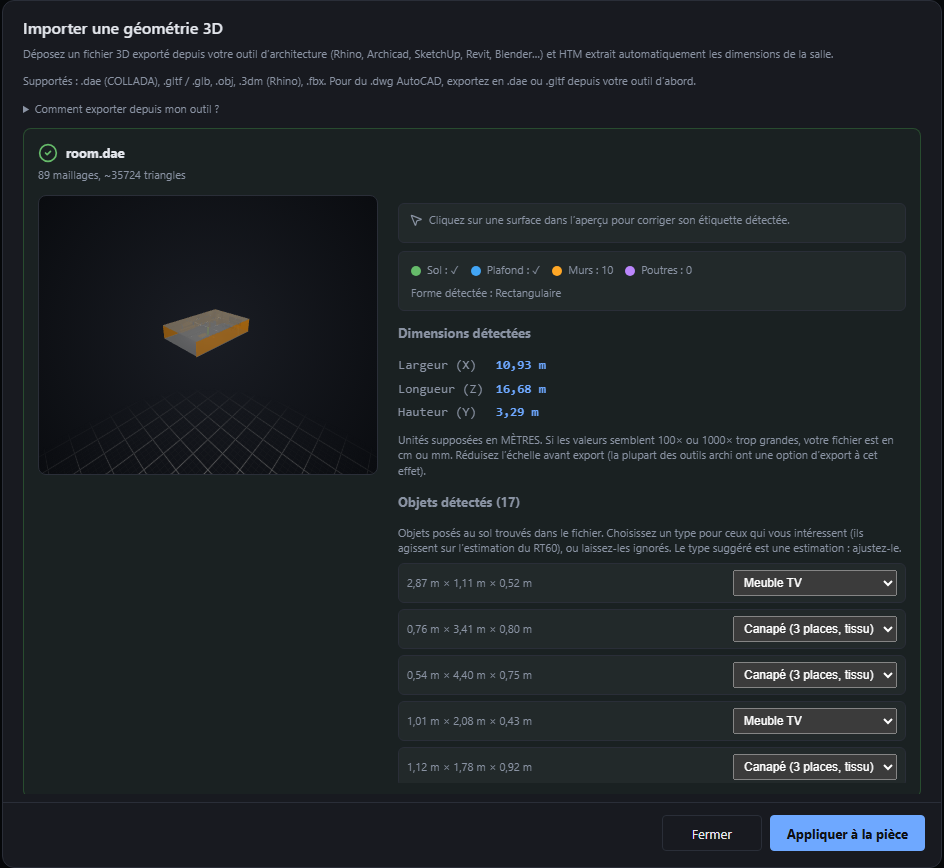
On the Room → Room tab, an “Import a 3D model” card opens the import window (drag-and-drop or file picker). 3D import is a Pro feature; typing the dimensions manually, just above, stays free and gives exactly the same result, with a bit more work.
Supported formats
- glTF (
.gltf,.glb) : the web standard, exported by Blender, SketchUp and most scanning apps. - OBJ (
.obj) : universal format, present in every tool. - Collada (
.dae) : SketchUp, older BIM. - Rhino (
.3dm) : loaded on the fly (the first time, a ~12 MB module downloads).
For an AutoCAD .dwg file (not handled directly), first export it to .dae or .gltf from your tool.
How to export from your tool
The usual sticking point isn't HTM, it's getting a file out of your software. The most common paths:
- SketchUp (desktop): File → Export → 3D Model… then pick COLLADA (.dae). The web/Free version has no 3D export: use the desktop version or a converter.
- Blender: File → Export → glTF 2.0 (
.glbor.gltf). - Rhino: Save As… to
.3dm, or Export Selected to.obj. - Archicad / Revit / other BIM: export to COLLADA (.dae) or glTF.
Keep units in metres. If your tool exports in centimetres or millimetres, the extracted dimensions will be off: convert in the source tool, or adjust by hand after import.
No model? Scan the room with your phone
The import window offers a “Scan with your phone” button that points you to proven scanning apps (photogrammetry or LiDAR). You scan your room in a few minutes, export to .gltf or .obj, then drop the file into HTM.
- No LiDAR (ordinary smartphone): prefer cloud photogrammetry (the phone takes photos, the server builds the mesh) : more forgiving on hardware.
- With LiDAR (iPhone/iPad Pro): real-time scanning is fast and precise.
On export, be sure to pick a mesh (.gltf/.obj), not a “gaussian splat” / point cloud (not usable here).
What HTM reads from the model
- Dimensions (width × length × height).
- Room shape: rectangular, L-shaped (open room), trapezoidal or irregular, and the concavity of an L is preserved.
- Attic: symmetric (dual-pitch) or mono-pitch slopes, with eave and ridge heights.
- Beams and floor / walls / ceiling, from the geometry.
A 3D preview shows the model with coloured surfaces. If detection gets something wrong (a piece of furniture read as a wall, say), click the surface and correct its type (floor / ceiling / wall / exclude).
Known limitations
- Units assumed in metres (see above).
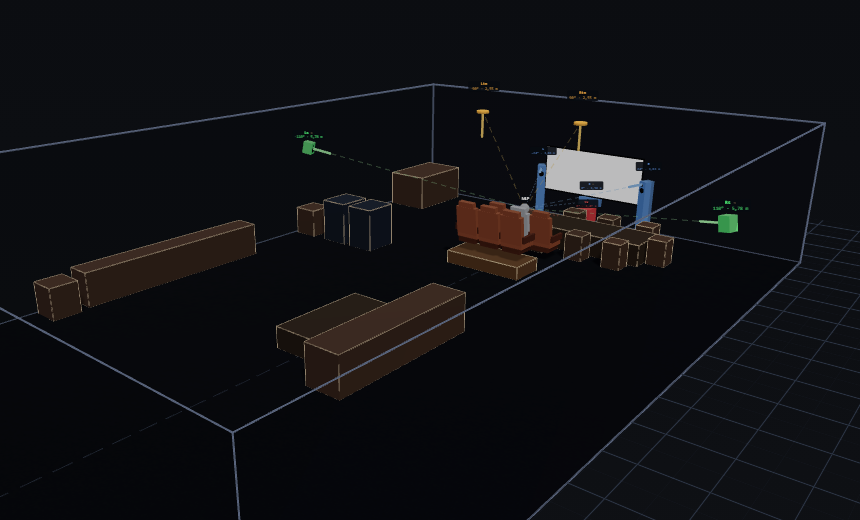
- Furniture: a furnished model can confuse floor/ceiling detection. Prefer an “architecture only” export, or exclude the parasitic surfaces in the preview.
- Very shallow attics (roof pitch below ~32°): the slope is mistaken for a wall/ceiling and isn't detected: set the sloped ceiling by hand.
- Rotated L: an L turned 45° off the axes isn't recognised as an L: reorient it in the source tool.